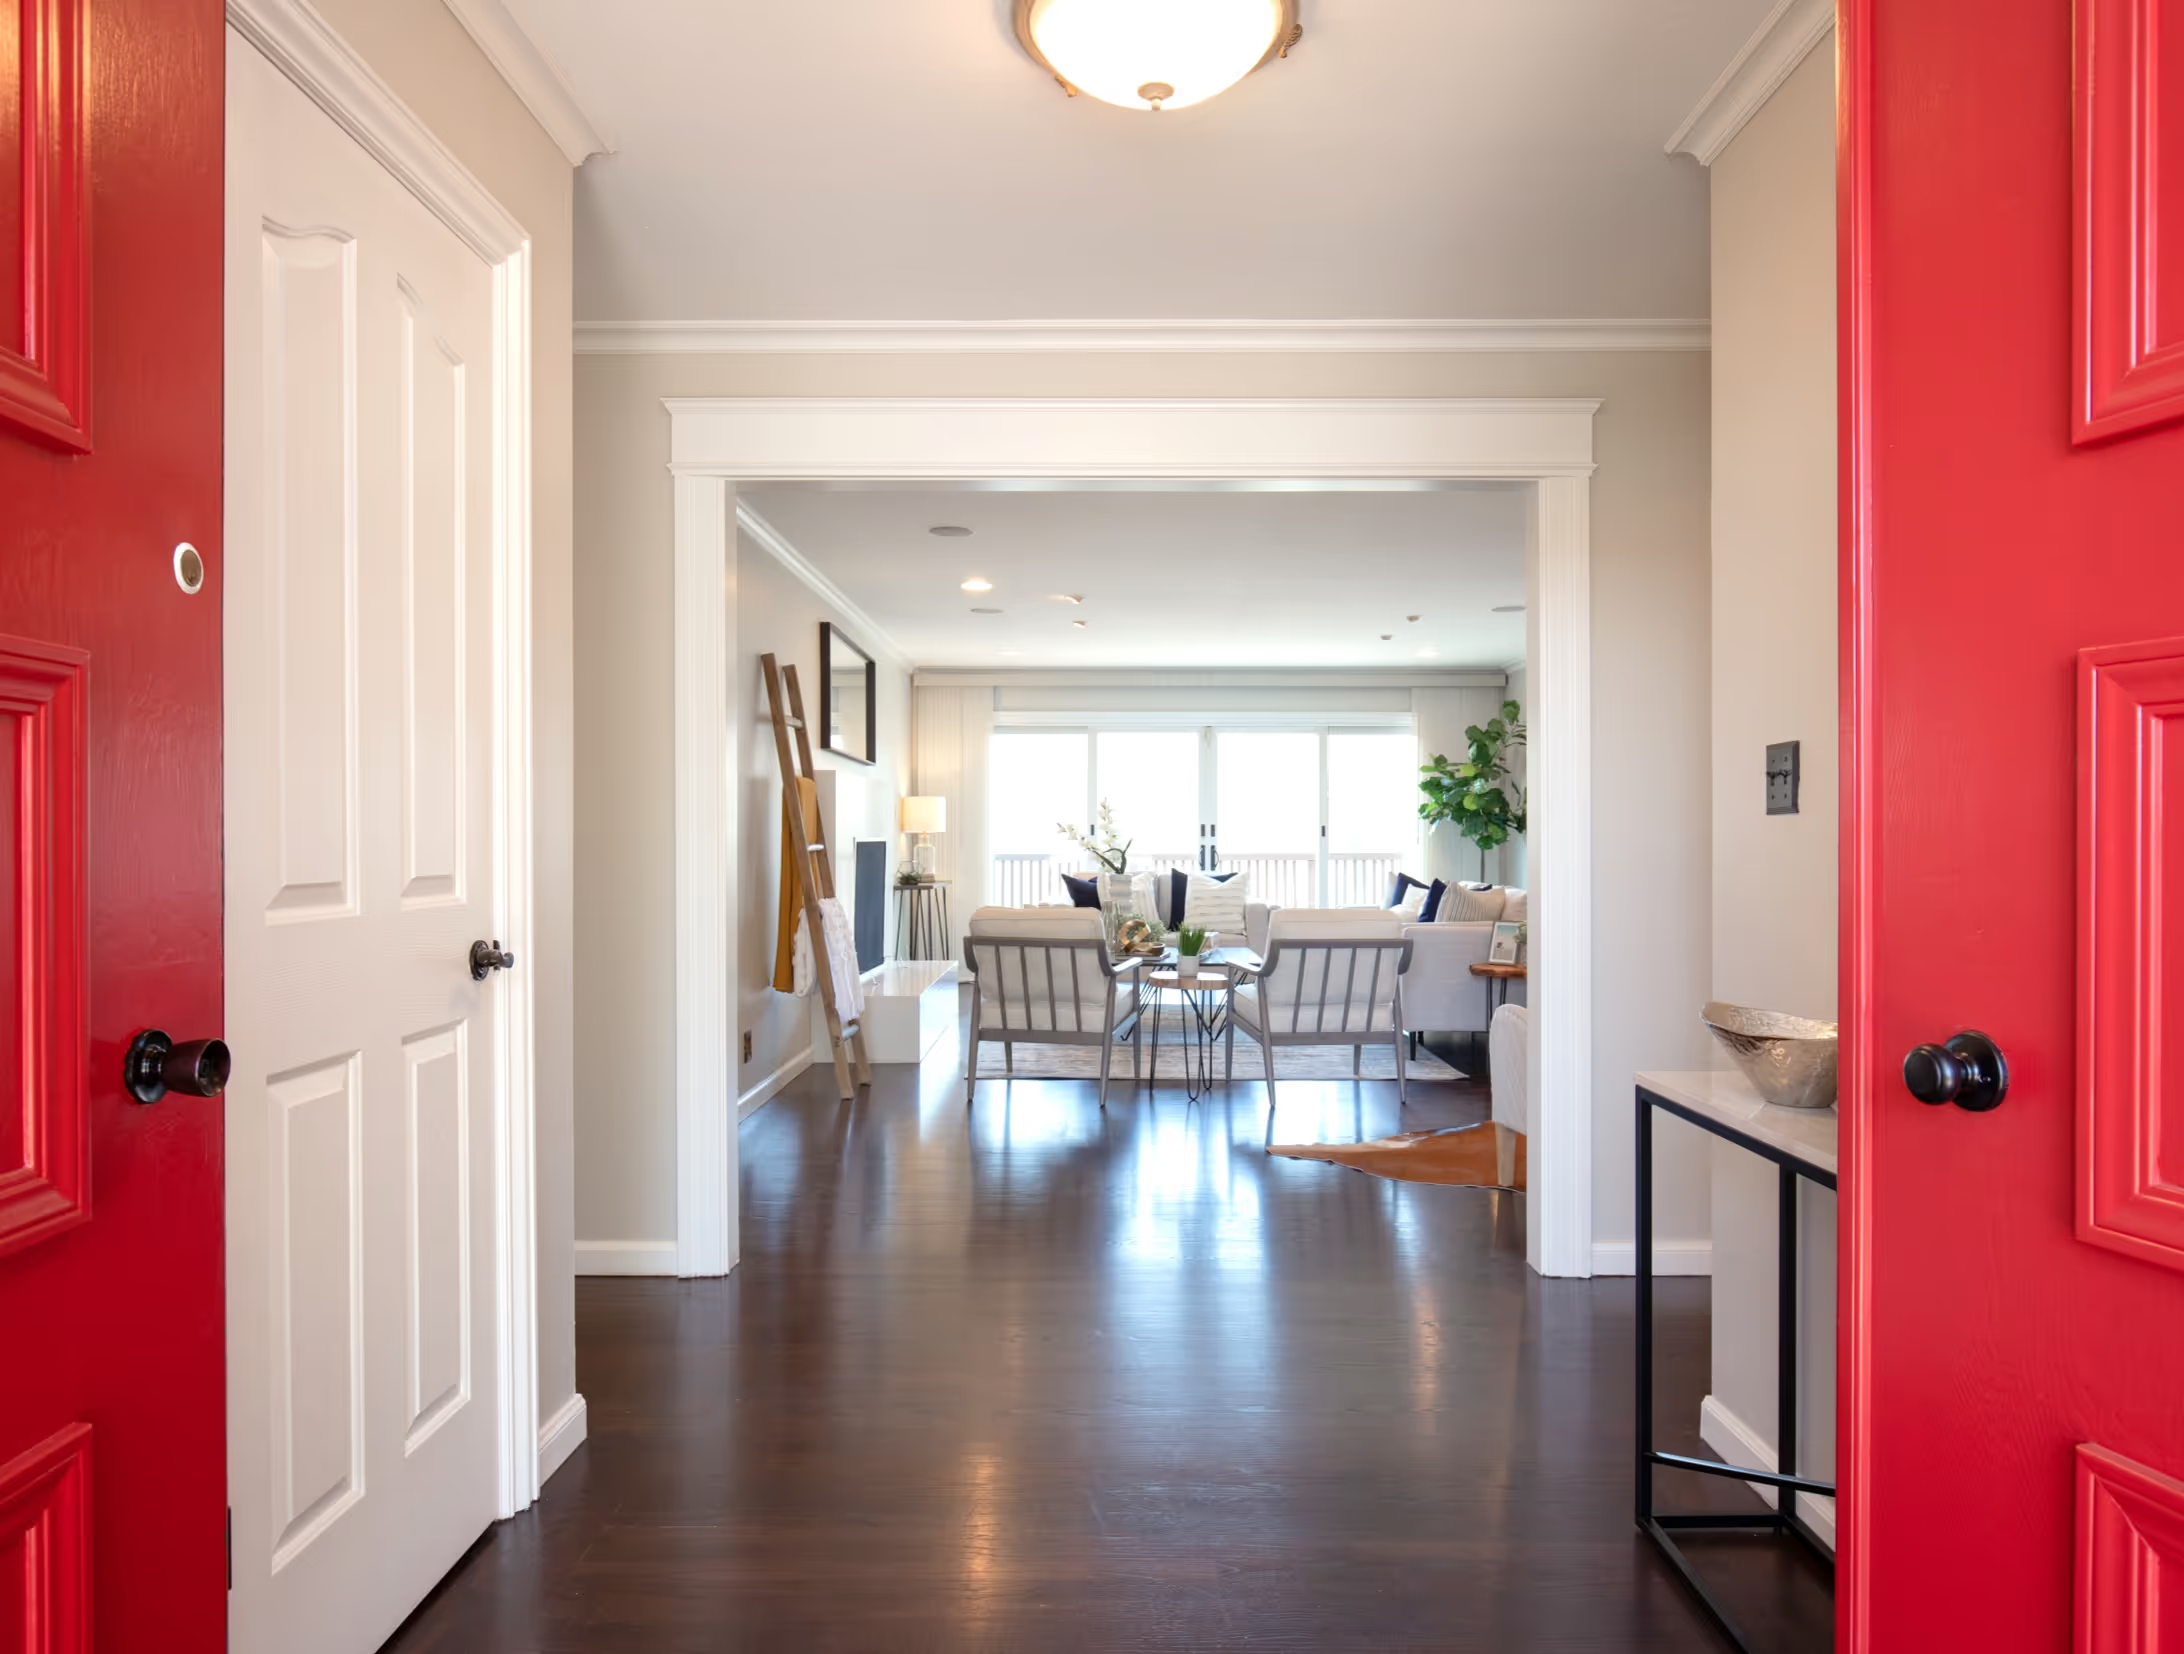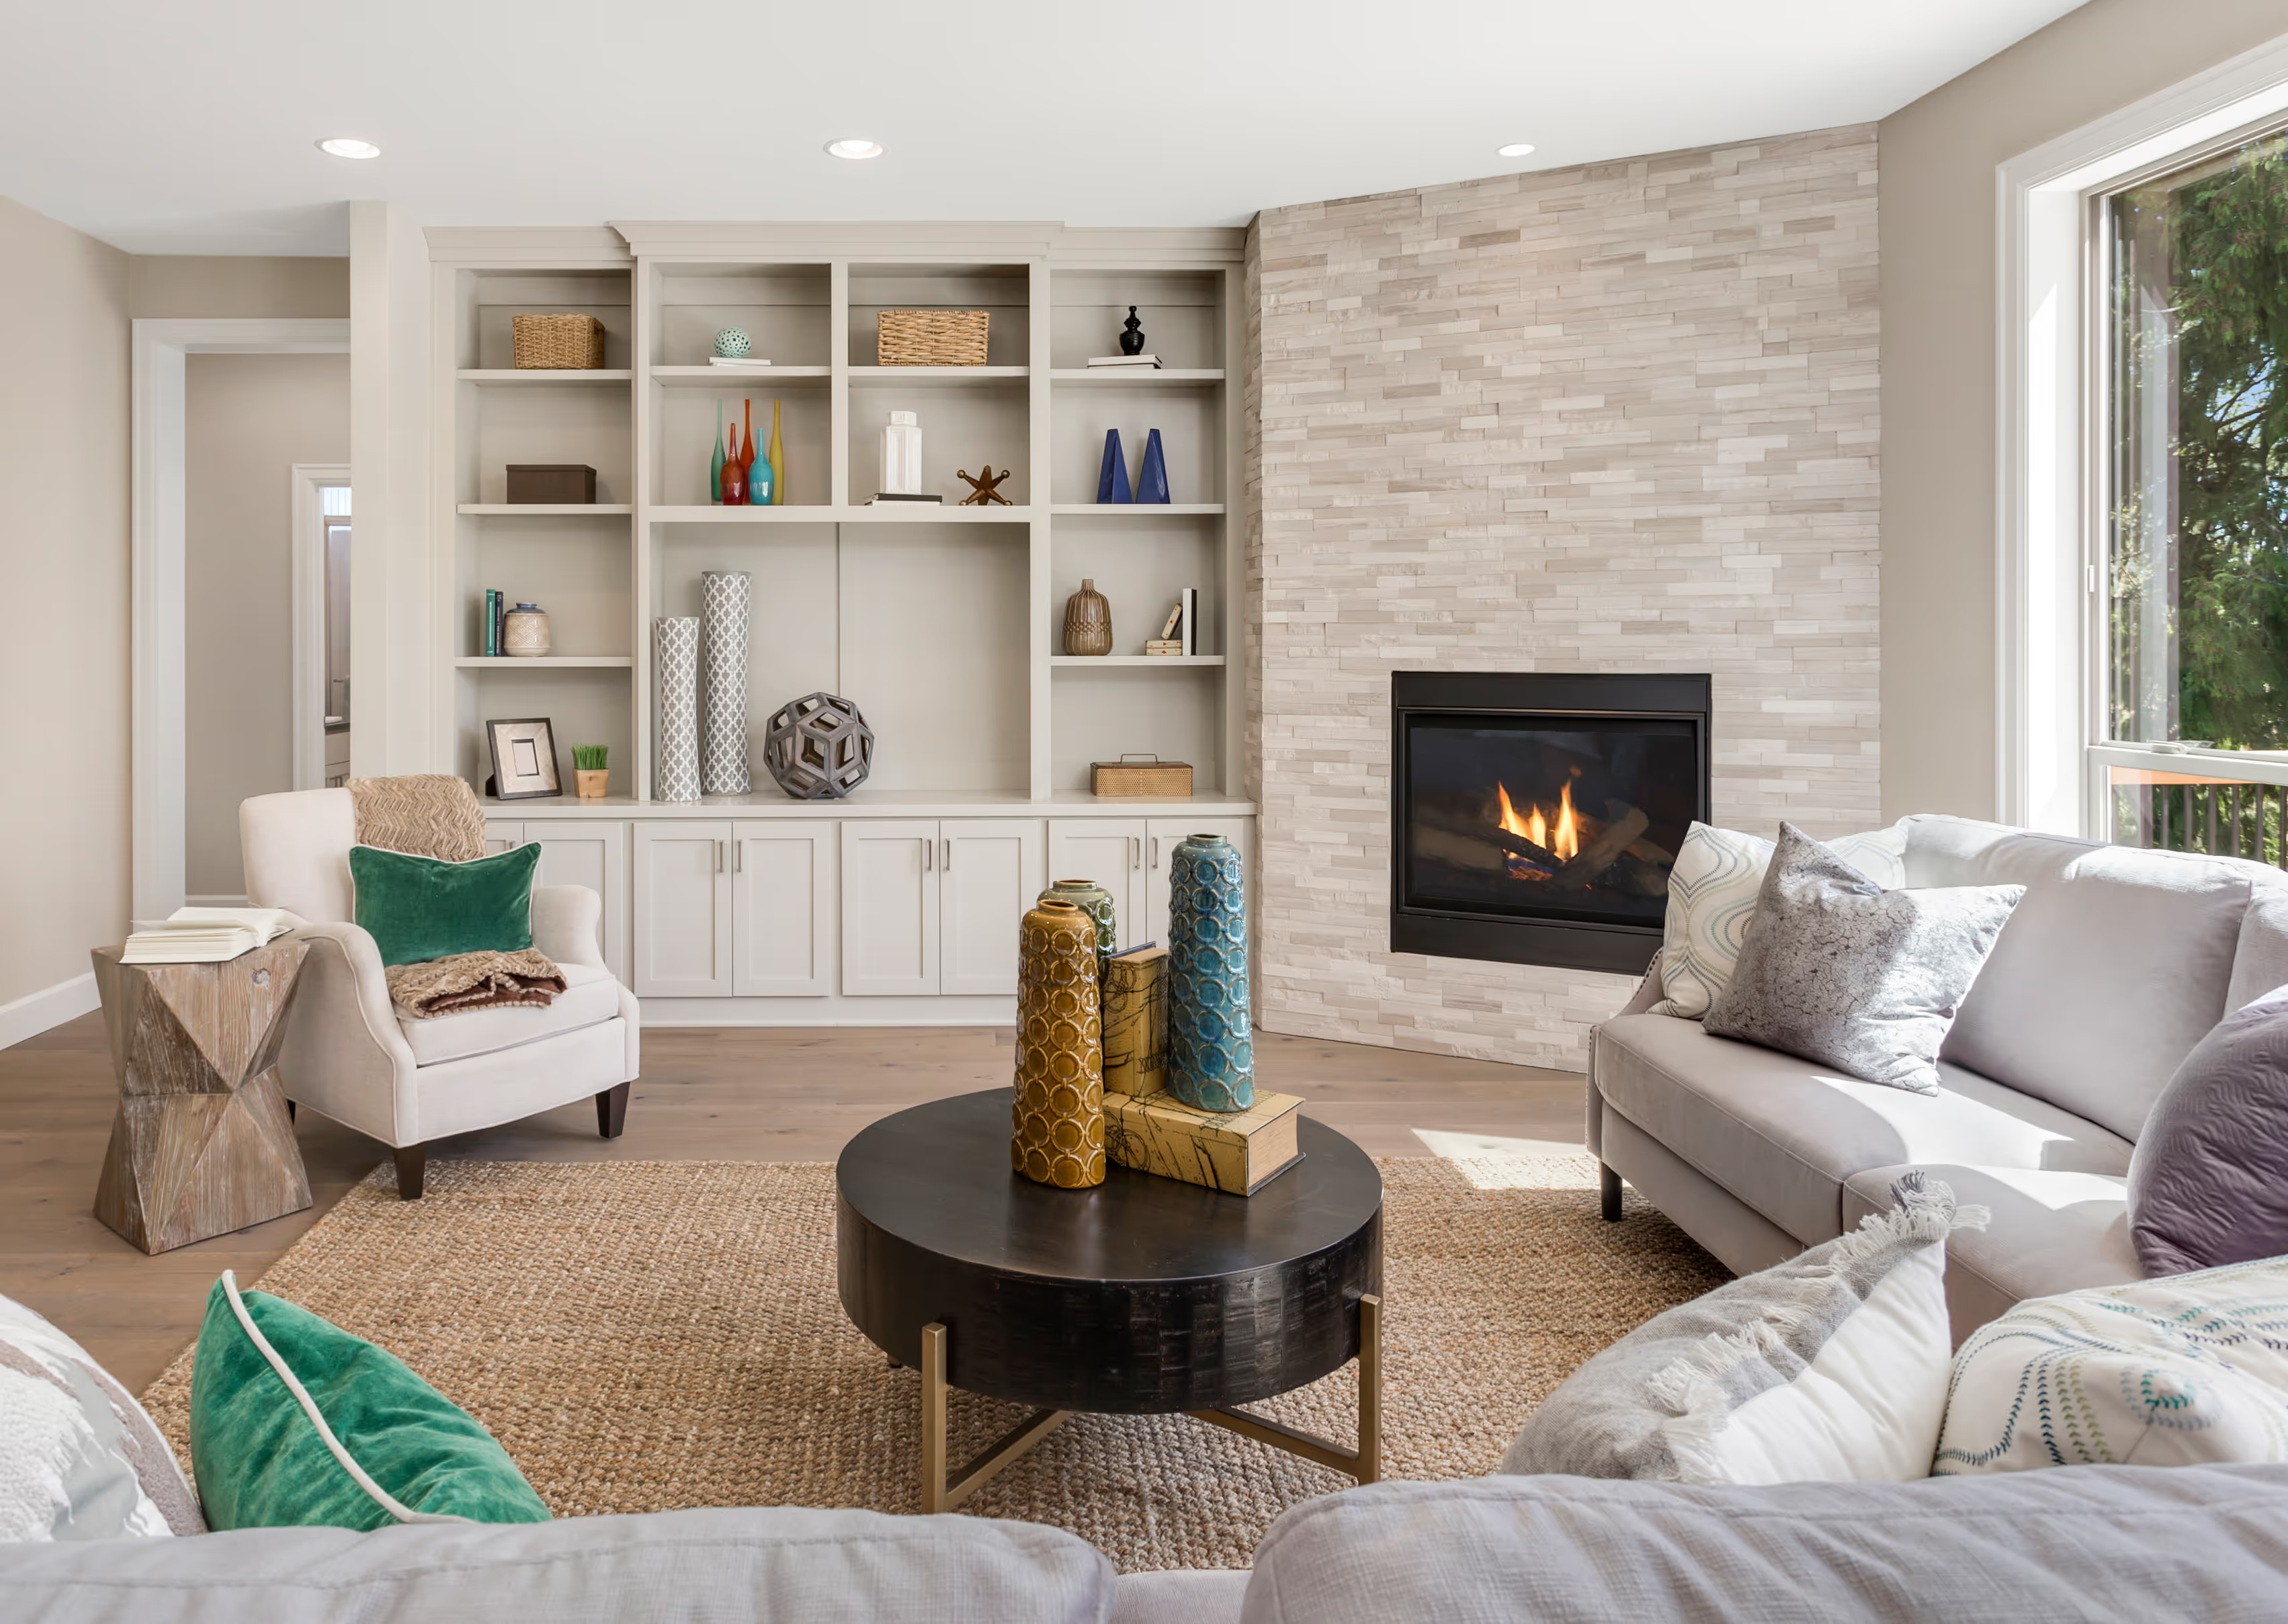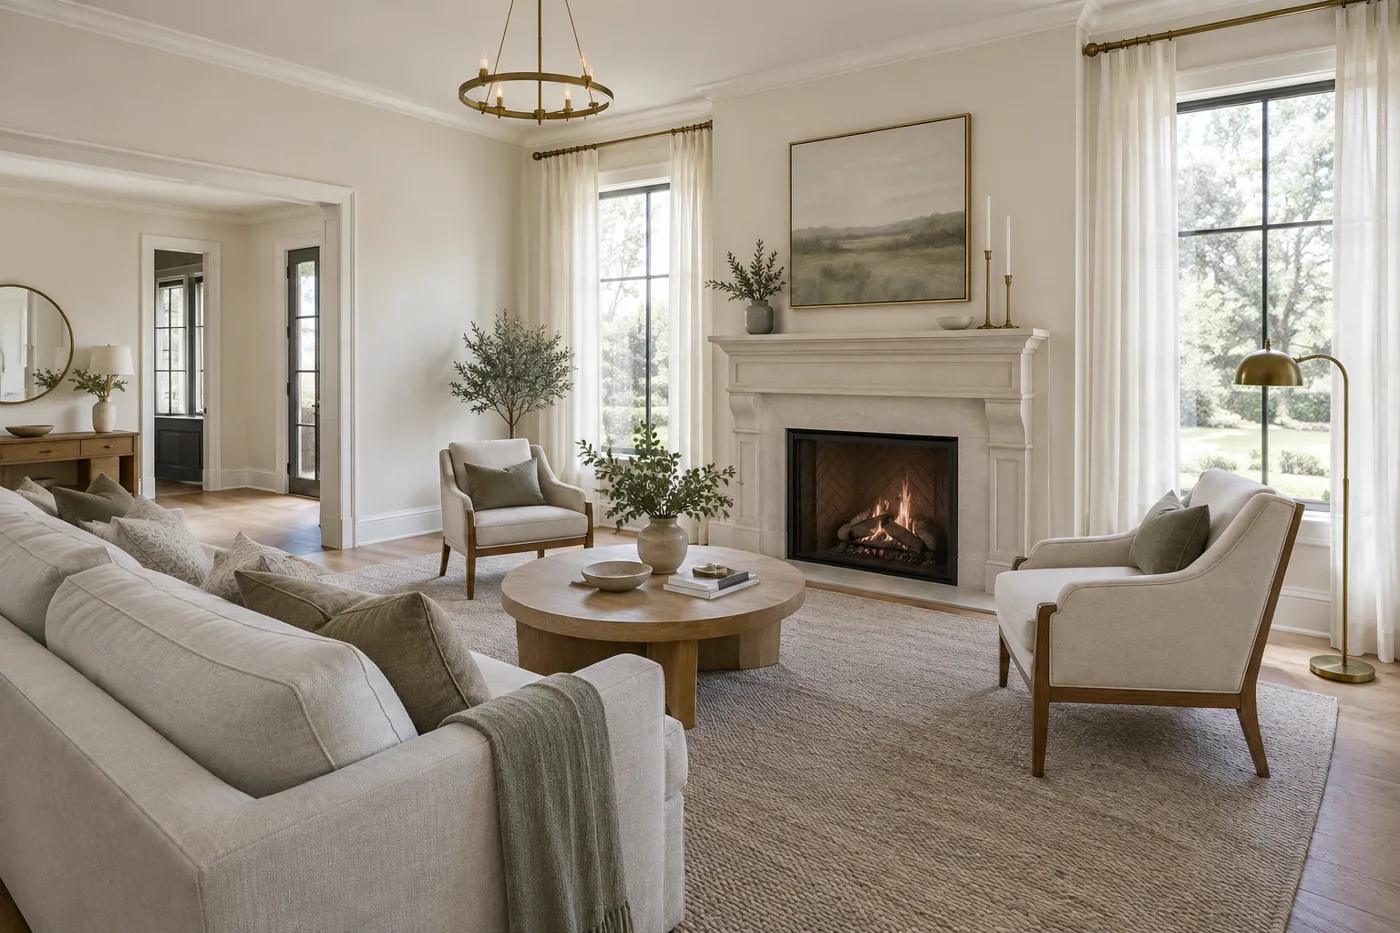
To stage a living room to sell, clear out clutter and personal items, keep only furniture that fits the room's scale, arrange seating around a single focal point with open walkways, and fill the space with natural and layered light. The goal is a room that photographs well and feels easy to live in, so buyers can picture themselves there within seconds.
The living room is usually the first or second photo in a listing and one of the first rooms buyers walk into. That makes it the room where staging pays off most. Whether you're working with your own furniture or bringing in a professional, these steps cover what actually moves buyers, from layout and furniture scale to lighting and the small styling details that finish the room.
Why the Living Room Matters Most
Buyers use the living room to judge how a home will feel day to day. It's where they imagine hosting friends, watching movies, and spending evenings, so it carries more emotional weight than almost any other space. A cramped, dark, or cluttered living room makes the whole home feel smaller, while a bright, well-arranged one lifts buyer impressions of every room that follows.
It's also a photography room. Listing photos usually lead with the living room or the exterior, so how this one space looks often decides whether a buyer books a showing at all. You can see how much a staged living room changes a listing in our before after gallery.
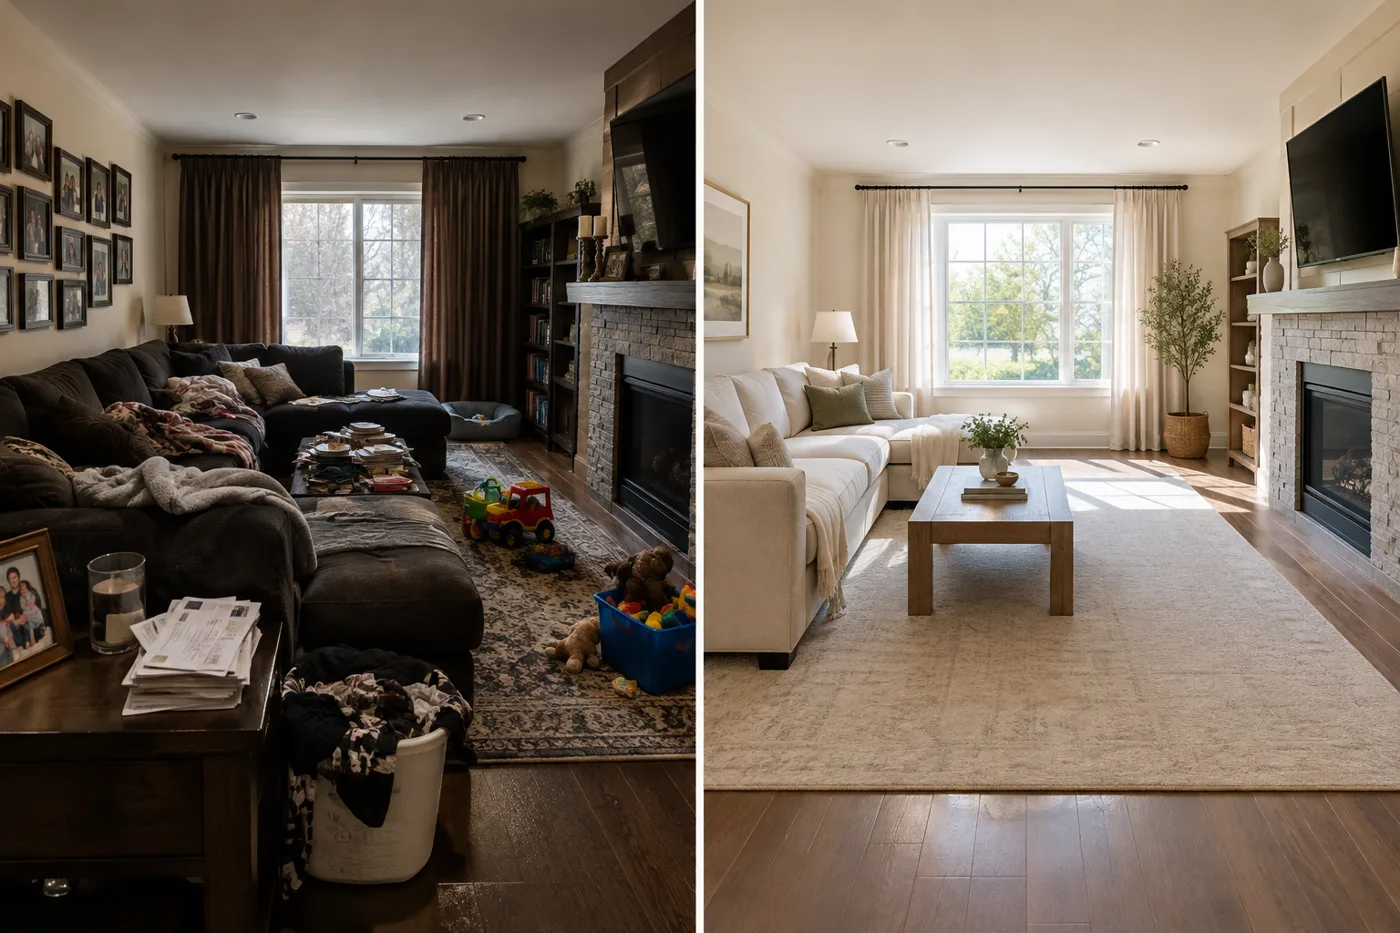
Step 1: Declutter and Depersonalize
Start by removing everything buyers don't need to see. This is the cheapest step and often the one with the biggest impact.
- Personal items: Pack away family photos, collections, trophies, and anything with strong personal or political messaging.
- Surface clutter: Clear coffee tables, side tables, and shelves down to a few intentional pieces. Remove mail, remotes, cords, and chargers.
- Extra furniture: Take out pieces that crowd the room, such as an extra recliner, ottoman, or bookcase. Fewer pieces make the room look bigger.
- Kids' and pet gear: Store toys, pet beds, and bowls during showings and photos.
A good test is whether a buyer would notice the item in a listing photo. If it draws the eye away from the room itself, it should go.
Step 2: Get the Furniture Scale Right
Furniture that's too big makes a living room feel cramped. Furniture that's too small makes it feel empty and makes buyers question the room's size. Scale is where most do-it-yourself staging goes wrong.
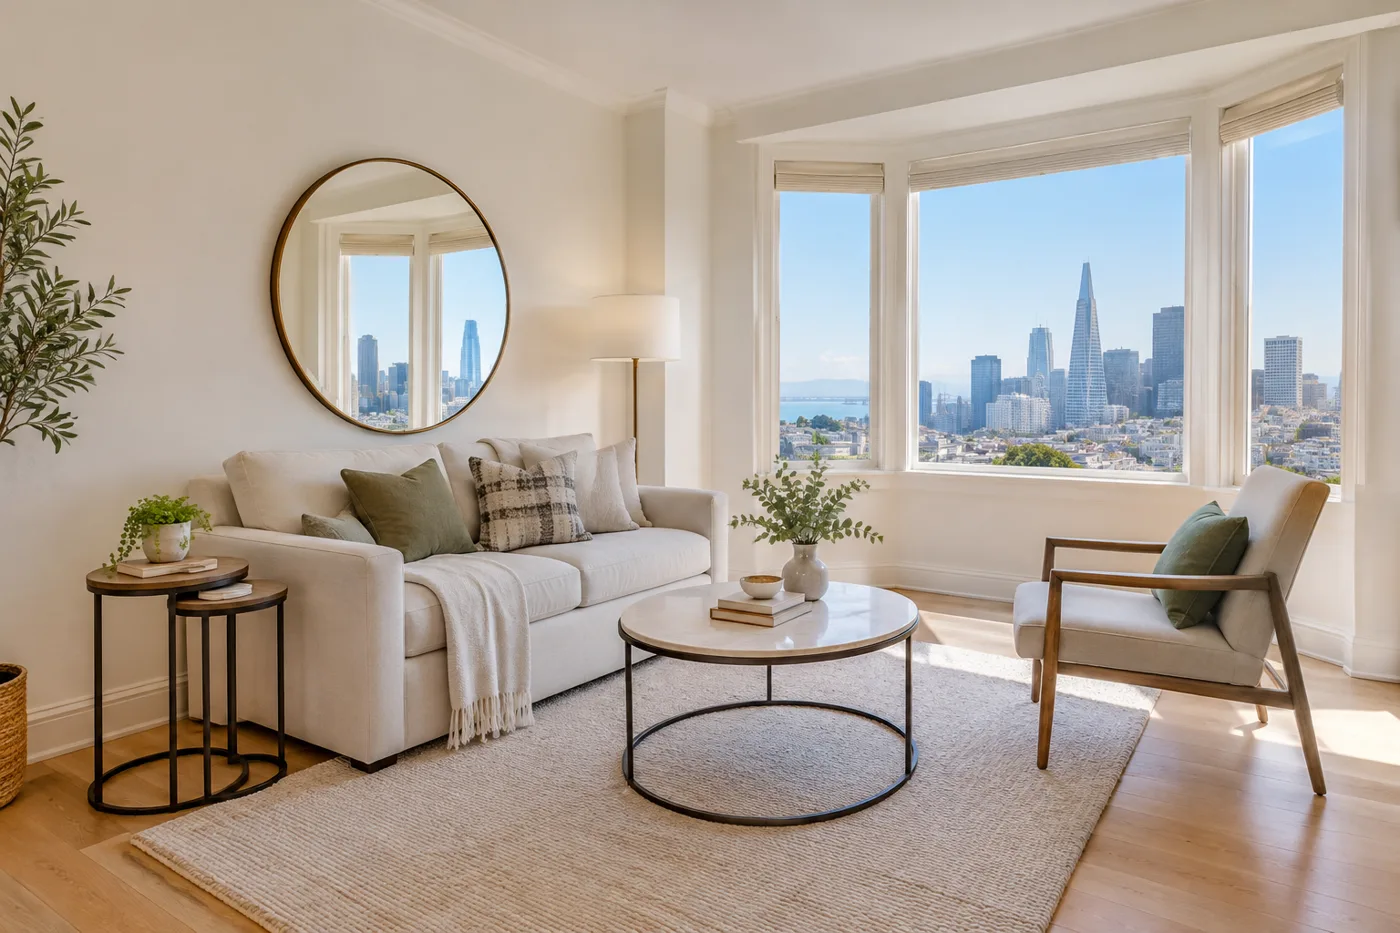
In smaller rooms, swap a large sectional for a sofa and one or two chairs, and choose pieces with visible legs, which let light pass underneath and make the room feel more open. In larger rooms, create one main seating group instead of spreading furniture along the walls. A rug should be large enough that at least the front legs of the sofa and chairs sit on it, which ties the seating area together.
Step 3: Arrange Around a Focal Point
Every living room needs one clear focal point, usually a fireplace, a large window, or a view. Arrange the main seating to face or frame it, and pull furniture off the walls so the group feels like a conversation area.
- Keep walkways open: Leave clear paths from the entry and between rooms, about three feet wide where possible.
- Float the furniture: Pulling the sofa a few inches off the wall makes the room feel intentional and larger.
- Downplay the TV: If the TV is the focal point, consider removing it for photos or making the fireplace or window the star instead.
Living Room Staging Options by Budget
You can stage a living room on almost any budget. Here's what each level typically involves in the Bay Area.
| Approach | What It Includes | Typical Cost |
|---|---|---|
| DIY declutter and rearrange | Remove clutter, edit furniture, deep clean | $0 to $100 |
| DIY accessory refresh | New pillows, throw, rug, lamps, plants | $100 to $500 |
| Staging consultation | Stager walkthrough and written plan | $300 to $600 |
| Occupied home staging | Stager edits your furniture and adds accents | $1,500 to $3,500 (whole home) |
| Vacant home staging | Full rental furniture and styling | $4,000 to $9,000+ (3-bed home) |
For a full breakdown of professional pricing, see our guide to how much home staging costs in the Bay Area, or get an instant estimate from the BoldRM staging calculator.
Step 4: Light the Room in Layers
Light is what makes a living room feel warm in person and bright in photos. Open every curtain and blind, clean the windows, and swap heavy drapes for light sheers or remove them entirely.
Then add layers of artificial light: overhead lighting for general brightness, floor and table lamps for warmth, and accent lighting near artwork or shelves. Use the same color temperature in every bulb, ideally a warm white, so photos don't show a mix of yellow and blue light. Turn every light on for showings and photography, even during the day.
Step 5: Style With a Light Touch
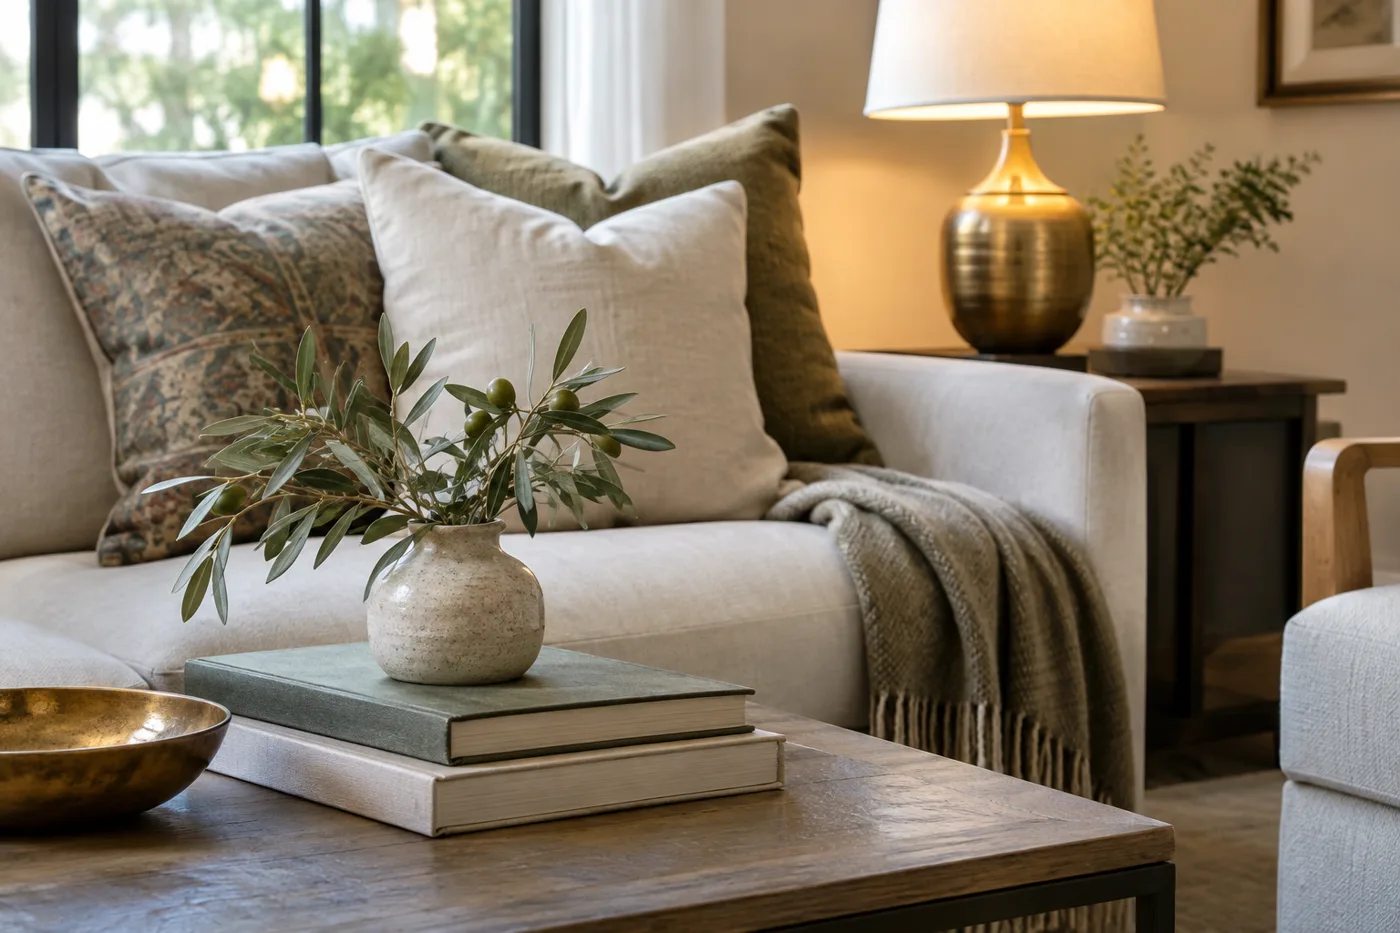
The finishing layer makes the room feel lived-in without feeling personal. Keep the palette neutral, with soft whites, warm grays, and natural wood, and add one or two accent colors through pillows or art.
- Textiles: Two to four throw pillows and a folded throw on the sofa add softness and texture.
- Greenery: A large plant or a vase of branches brings life into the room and photographs well.
- Art: One large piece over the sofa or fireplace looks better than many small frames.
- Coffee table: Keep it simple with a tray, a small stack of books, and one decorative object.
Less is more. If a surface looks busy in a photo, remove one item at a time until it feels calm.
Staging a Small Living Room
Small living rooms, common in San Francisco flats and Bay Area condos, need extra care. Use apartment-sized sofas and slim chairs, choose a round coffee table to soften tight walkways, and add a large mirror opposite a window to bounce light and visually expand the room. Keep the floor as open as possible, since visible floor space is what buyers read as square footage.
If you're preparing a whole home, the same principles carry into other rooms. Our guide on how to stage a master bedroom to sell covers the next most important room.
Things to Know
- The living room is usually one of the first photos in a listing, so it has an outsized effect on whether buyers book a showing.
- Removing furniture often helps more than adding it, because visible floor space reads as square footage.
- A rug should be large enough for at least the front legs of the sofa and chairs to sit on it.
- Every bulb in the room should share the same warm color temperature for consistent photos.
- Furniture with visible legs makes small living rooms feel larger and brighter.
- Professional staging includes furniture scale, layout, and styling decisions that are hard to judge in your own home.
When to Bring In a Professional
DIY staging works well when your furniture is neutral, in good condition, and sized for the room. If your home is vacant, your furniture is oversized or dated, or you're selling at a higher price point, a professional stager will usually deliver a stronger result. BoldRM's services include professional-grade photography with every stage, handled in-house, so the living room is photographed while the staging is fresh. If you're weighing whether to stage while you're still living in the home, read Is It Cheaper to Stage an Occupied or Vacant Home?
Frequently Asked Questions
Q: What does home staging mean?
Home staging means preparing and furnishing a home so it appeals to the widest range of buyers, using neutral furniture, decor, and layout to highlight the space instead of the owner's personal style.
Staging can be as simple as decluttering and rearranging your own furniture, or as complete as bringing in a full set of rental furniture for a vacant home. The goal is the same either way: better listing photos, stronger showings, and a faster sale.
Q: How do you stage a house to sell fast?
To stage a house to sell fast, focus on the living room, kitchen, and primary bedroom, declutter every room, make small repairs, maximize light, and have professional photos taken right after staging.
Buyers form their first impression online, so the rooms that appear first in the listing matter most. Plan two to three weeks before your listing date to leave time for cleaning, repairs, and installation.
Q: How do you stage a small living room?
Stage a small living room with apartment-sized furniture, a round coffee table, a large mirror across from a window, and as much open floor as possible.
Choose furniture with visible legs, limit accessories, and keep walkways clear. Removing one or two pieces of furniture often makes a small room look much larger in photos.
Q: Can you stage a living room on a budget?
Yes, you can stage a living room on a budget by decluttering, rearranging your existing furniture, and adding a few new accessories like pillows, a throw, a plant, and lamps for under $500.
The biggest improvements usually come from removing things rather than buying them. A professional consultation, typically $300 to $600, can also give you a clear plan to follow on your own.
Q: What should you remove from a living room before showings?
Before showings, remove personal photos, collections, excess furniture, cords, remotes, pet and kid items, and anything on surfaces that isn't intentional decor.
Buyers should see the room, not your daily life. Keep only the pieces that help define the space, such as a sofa, chairs, a coffee table, a rug, lighting, and a few simple accessories.
The Bottom Line on How to Stage a Living Room to Sell
Staging a living room to sell comes down to space, scale, and light. Clear out what buyers don't need to see, keep furniture sized to the room, arrange it around one focal point, and light the room in layers. Those steps make the difference between a room buyers scroll past and one they want to see in person.
If you'd rather leave it to a professional team, use the BoldRM staging calculator to get an instant estimate, browse our portfolio, and contact us to plan your stage.